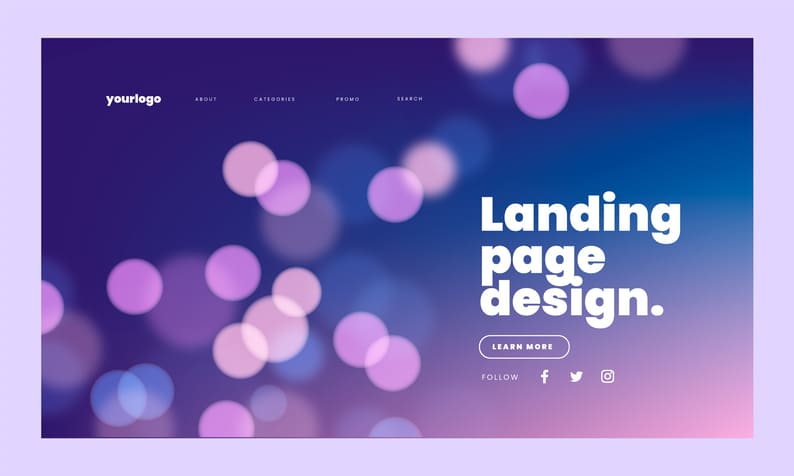
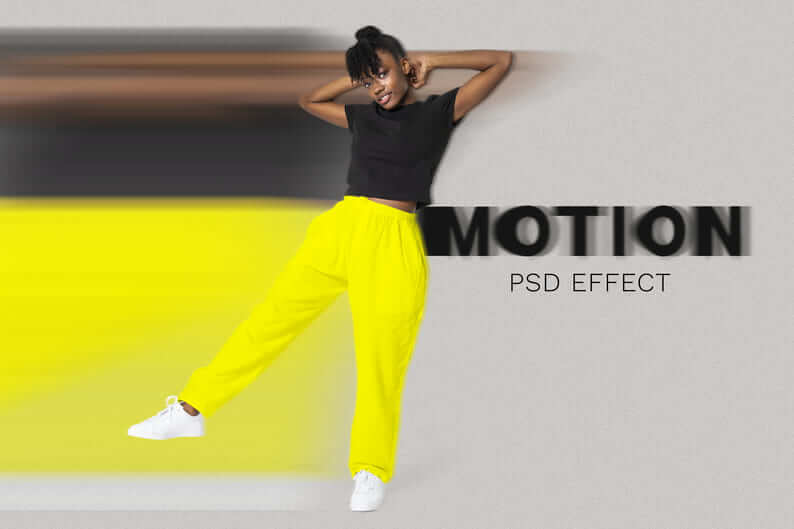
Using the blur effect in photos is a great way to draw the viewer’s attention to a certain detail, such as a logo, text, product, etc. From this article, you’ll learn how to smartly use the blur effect to enhance your photos.
- About the bokeh effect
- Secrets to using bokeh in graphic design
- How to add the blur effect
- Conclusion
About the bokeh effect
Originating from Japanese, the word “bokeh” means “blur.” In graphic design, this is a common technique that makes the image look out-of-focus and ethereal. The bokeh effect boasts a variety of advantages.
- Attention management. By applying the bokeh technique, you can highlight the important details by leaving them in focus.
- Versatility. Bokeh can be successfully applied to any type of visual content and works well with any color palettes.
- Creativity. Bokeh can transform a common photo into a work of art, allowing you to rearrange accentuated areas.
The blur effect can take different forms, depending on various factors.
- Based on the area of application, designers differentiate between a partial blur, where one element is left in focus, and a complete blur where an entire image is blurred.
- Depending on how intense you want your blur effect to be, you can either leave the objects easily recognizable or turn them into unclear stains;
- Based on where the bokeh effect is applied, designers distinguish between a foreground and background blur.
Here’s a couple of tips that will help you make the most of the bokeh technique.
- Don’t use the blur effect to save a poor-quality photo. Only work with high resolution photos made with a professional camera.
- Bokeh always serves a certain purpose, so make sure you’re not using it just to make your image look fancy. Before applying the bokeh effect, think about what you want to achieve through this technique.
Secrets to using bokeh in graphic design
Blurry images are used across a big spectrum of digital and physical platforms, including websites, ads, socials (photos in regular posts and Instagram Stories, profile pictures, etc.), printed materials (business cards, calendars, booklets, etc.). Pick the channels that you’re using to promote and advance your business.
Draw attention
Objects that are in focus are the first things to catch the eye. Guide the viewer’s attention to the details that you want to emphasize, while blurring out the rest. Here are the things that you might want to bring out:
- product;
- person (e.g., the one holding the product);
- any detail that works well for promotion.

Highlight text
Blurring out the background is a surefire way to make your text stand out.
- By doing so, you’ll bring your text into the spotlight. Blur out the background so that it looks like an indistinct colored stain.
- Also, this technique can reinforce the message contained in the headline. Let’s say, you have a travel website. On your homepage, there’s a text with a short headline against a picturesque background image. By putting the image out of focus, you’ll be able to accentuate the headline.

Enhance your brand identity
Bokeh photos can help your potential customers memorize your brand colors, graphics, and other visual elements.
- Determine your brand personality and visually express it through a logo, colors, and fonts. Need help? Check out the ZenBusiness brand identity maker. The service will craft a unique brand identity for your business in a matter of minutes!
- Logo is the key visual symbol of your company, so it makes sense to guide the viewer’s attention to it. One way to go is to blur the background around your logo. Also, you can put your emblem on an already blurred image that resonates with your logo message.
- It might be a nice idea to apply the bokeh effect to the images or illustrations with your brand colors. This will strengthen the message that you’re sending through your visual identity.
Add dynamics
If you try to shoot a racing car with a regular camera, you’ll end up with an unfocused photo in which the moving car has a long blurry “tail” behind it. This visual effect can be created intentionally. It’s a great way to convey the ideas of dynamics, speed, and movement. This technique is commonly used by businesses involved in:
- transportation;
- sports;
- active leisure.

Set the right mood
To make your image radiate certain vibes, you need to adjust colors, lighting and composition. What emotions your image transcends depends on:
- whether the photo has more warm or cold colors;
- your camera’s sharpness settings;
- how many details the photo has;
- what objects are in focus and where in the photo they’re found.
How to add the blur effect
You can apply the bokeh effect either during the photo shoot, or during editing.
Adjust your camera’s settings
You’ll need a camera where you can configure settings manually.
- Set up a low setting for diaphragm to ensure a large diaphragm opening. Low sharpness allows you to focus on a single object while blurring out the things around it.
- Set up exposure, i.e. a span of time during which the camera’s shutter remains open when taking a photograph. Short exposure can equal a 1/1000 second, while long exposure can last up to 1 second. The shorter the time of exposure, the more blurry the photo will be.
- Switch to manual focus. Take photos focusing on different parts of the object and compare the results.
- Change the distance between the camera, object, and background. The farther the background, the more blurry it’ll look in the photo
- Use special lenses for bokeh photography.
Use Photoshop
Upload a photo. Choose “Filter” — “Blur Gallery”, and select the right tool.
- The Field Blur tool allows you to manually focus on any object while blurring out the rest. Drag the slider to adjust the blur levels.
- The Motion Blur tool creates the illusion of an object moving at high speed. To adjust this setting, drag the Distance slider.
- The Path Blur tool allows to create motion blur effects in specific directions.
Use Lightroom
Upload an image and switch to the Develop mode. In the tool panel, click the Brush tool and use it to select the areas that you want to blur. If needed, enhance the effect using the sharpness filters.
Special editing programs
Also, there is a big selection of mobile apps and online services that you can use to create a head-turning bokeh effect.
- Auto Blur Background. This mobile app features a wide suite of editing tools for creating a stunning bokeh effect. Users can adjust blur levels and select the areas they want to put out of focus.
- Removal.ai. Along with adding the bokeh effect, this program enables you to set up scale, noise, brightness, shadows, and other parameters.
- Real Bokeh. The app offers ready-to-use bokeh templates and amazing editing filters.
- PicMonkey. PicMonkey is an online editor and mobile app all in one. Choose from several blur effects and enhance them with special settings.
- Insta Bokeh. This picture editor is an ideal choice for Instagram users. Add beautiful bokeh and blend effects to your Insta shots!
Conclusion
Bokeh effect is, hands down, a visually compelling design technique that can work wonders on your visual content. To make the most of this method, be sure to:
- determine the task you want to achieve with the bokeh effect;
- decide where in the photo you want to apply the blur effect;
- make high-quality photos;
- edit your images in a professional editing program or app.


